Heat / Kitchen skills
The ice-and-surfaces challenge
How do two matched ice cubes change on room-temperature metal and plastic surfaces?
Put matched ice cubes on two prepared surfaces. Follow their changes for ten minutes and report the result without promising a winner.
Proposed procedure; kitchen trial pending. Explore with an adult and follow the preparation and handling notes.
- Hands-on time
- 20 min
- Total time
- About 80 min
- Difficulty
- Easy
- Participation
- Adult setup
Before you investigate
A thoughtful setup.
Do not eat the ice or drink meltwater from the test surfaces.
The adult’s part
- Select smooth, stable surfaces and check for sharp edges.
- Help move ice and clear any water spills.
Tools & heat
- Use a spoon or tongs, room-temperature surfaces and a spill tray.
- No heating equipment or knife is part of the activity.
Ingredients & allergens
- Plain-water ice only; do not add salt or chemicals.
- Use clean surfaces and tools; no food ingredients other than water are needed.
- This observation setup does not certify a surface as suitable for someone’s food preparation.
Prepare your space
- Keep the spill tray level and away from electrical equipment.
- Wipe water from the bench or floor promptly.
Build the relevant habits
Review or print my preparation checklist
Checking this browser…
Discover
What you’ll learn.
- Distinguish surface temperature from how a material transfers heat.
- Track changes at fixed observation times.
- Limit a conclusion to the actual household objects tested.
Change: The household surface under the ice: the selected metal object or the selected rigid plastic object.
Keep the same: Matched ice cubes from the same tray · Surfaces left in the same room before testing · Starting time, surrounding air and light · Observation schedule and no touching or moving the cubes
My prediction
Try it
Follow your question.
Prepare the surfaces
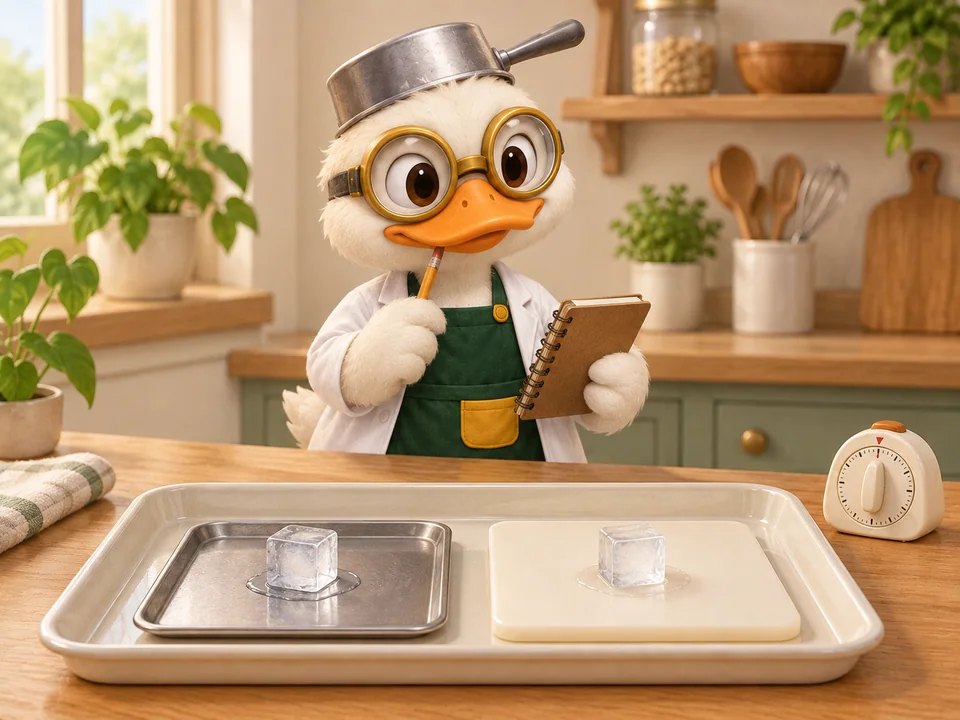
After both surfaces have spent about 1 hour in the same room, place them side by side on the spill tray. Label them Metal and Plastic. Note their dimensions and any differences that could affect the comparison.
Care at this step: Use stable surfaces at room temperature; no heating shortcut.
Place the matched ice
Use the spoon or tongs to put one cube near the center of each surface, as close to simultaneously as practical. Start the timer. Sketch their starting outlines and note any visible size difference.
Care at this step: Move cubes with a spoon or tongs and keep them away from mouths.
Observe at planned intervals
At 1, 3, 5 and 10 minutes, record the remaining ice shape and whether meltwater is visible. Keep the cubes in place. If a cube disappears between visits, record the interval when it disappeared rather than inventing an exact melting time.
Report the ten-minute state
At 10 minutes, describe each sample: still mostly ice, smaller ice with water, or no visible ice. Stop the planned comparison even if both cubes remain. There is no required finish time or winning material.
Build an explanation with a limit
Connect the observed difference, if any, with heat transfer. Name at least one difference between the objects besides material, such as thickness, size or contact with the tray. Say which objects your conclusion actually describes.
Dry and reset the space
Discard the remaining ice and water, dry the surfaces and wipe the tray and floor if needed. If repeating, let the dry surfaces return to room conditions first and use new matched cubes.
Care at this step: Dry the surfaces, tray and any floor drips.
Observe
Look a little closer.
- What did each cube look like at 0, 1, 3, 5 and 10 minutes?
- Did both cubes start with similar size and contact with the surface?
- Was there a clear difference, or were changes hard to distinguish?
- If a cube vanished between observations, what is the honest time interval?
- What other differences between the surfaces might matter?
Different results are useful. Record what you see, rather than trying to match an expected answer.
My observations
Understand
What’s going on?
Ice melts as it gains energy from its surroundings. A room-temperature metal surface can transfer energy to the ice differently from a plastic one, even when both started at similar temperatures. Metal often conducts heat more readily. Your household objects also differ in size, thickness and contact, so the result belongs to this setup. Cold is not a substance flowing out of the cube.
Use this in your kitchen
Cookware and utensils influence how heat moves, not just how warm they initially feel. This is one reason a material’s cool feel cannot tell you its exact temperature. The experiment illustrates heat transfer; it does not compare cookware safety or establish food-thawing instructions.
Go deeper
Temperature describes a thermal state, while thermal conductivity concerns how readily a material transfers energy through itself. An object also has a finite ability to supply energy, influenced by its mass and material. Our kitchen-object comparison combines these effects. Matching starting conditions makes it more informative without turning it into a laboratory measurement of conductivity.
Why results may differ
- Kitchen metal and plastic objects rarely match in thickness, mass and shape.
- Cube size, contact area and small slopes can affect melting and visible puddles.
- Spaced observations give intervals, not exact melting times.
- Ten minutes may not melt either cube; no particular result or duration is guaranteed.
Try again
One discovery.
Another question.
Dry the surfaces, allow them to return to the same room conditions, swap their left–right positions and repeat with new matched cubes. Compare the whole observation sequence, not just one photograph.
My conclusion and next question
Finish thoughtfully
Clean up
- Wipe and dry the work area and wash hands.
Dispose of the samples
- Discard ice and meltwater into the sink.
- Dry objects before storing them or preparing another trial.
For parents & educators
Learning objectives
- Use a planned time series.
- Explain heat transfer without saying that “cold flows.”
- Limit causal claims when material and object dimensions change together.
Prepare & make space
Prepare matched ice in advance and leave the surfaces in the same room for about an hour. Total time includes that hour but excludes making the ice.
The adult’s part
Select surfaces, check edges and stability, and help manage ice and water. No heating or food tasting is required.
Talk about it
- Could two objects feel different while starting at the same temperature?
- Why note the object thickness?
- What can we honestly say if both cubes remain after ten minutes?
A simple way to join in
Use three descriptions: mostly ice, ice plus water, and no visible ice. An adult can handle the timer and record dictated observations.
Take it further
Repeat with the same objects and swapped positions. Discuss whether repeated patterns strengthen a conclusion while leaving object-shape limits in place.
Explore as a group
Assign timekeeper, observer and recorder roles. Keep every group’s object descriptions beside its results so different setups are not treated as identical.
Clean up
Dispose of ice and water, dry the tray and surfaces, and check for drips on the floor.
Behind the explanation
- American Chemical Society Middle School Chemistry: Changing State — Melting ↗
Its metal-versus-plastic demonstration connects melting ice with heat conduction. The household objects and observation schedule here are proposed adaptations.
- Exploratorium: Cold Metal ↗
Explains why materials at the same temperature can feel different and recommends allowing about an hour for samples to reach room temperature.
- Science Buddies: Variables in Your Science Fair Project ↗
Distinguishes the changed variable, observed response and controlled conditions when planning and interpreting a comparison.
Activity exp-ice · Content version 1 · Sources checked 2026-09-25 · Proposed procedure; kitchen trial pending