A connected kitchen project
Investigate, explain, teach
How can you help another learner understand a result without claiming more than the evidence shows?
Choose a question, keep a real observation, build a labeled diagram and teach a short explanation that includes its source and its limits.
Proposed procedure; kitchen trial pending. Explore with an adult and follow the preparation and handling notes.
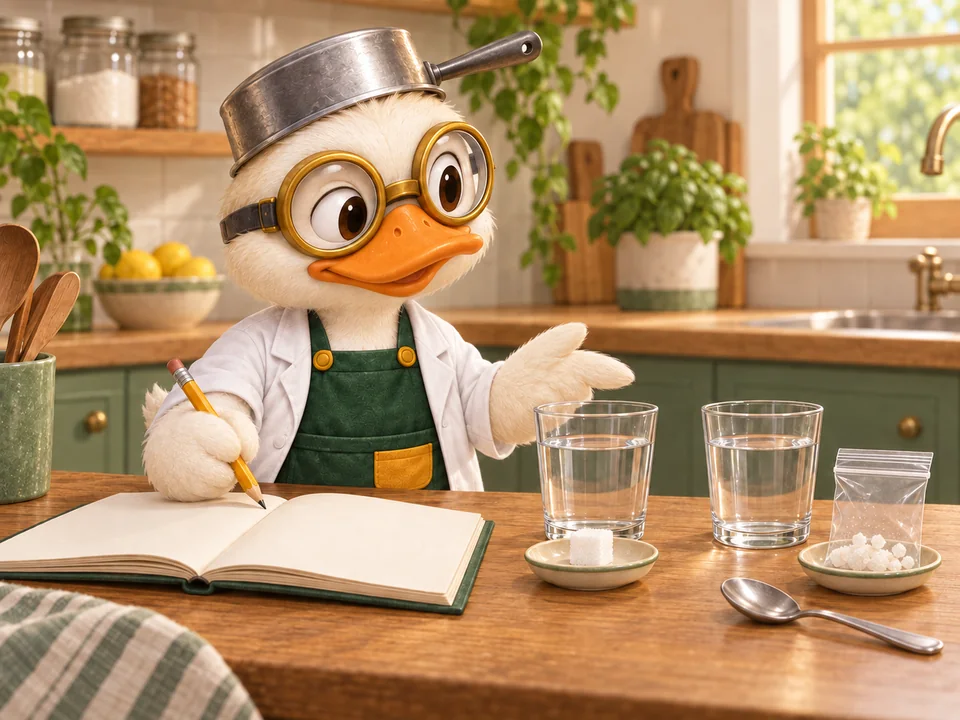
What you’ll make
A private printable teaching report with a question, prediction, comparison plan, actual observation, labeled diagram, explanation linked to a source, one limitation and a next question.
6 stages · 60 minutes hands-on · About 90 minutes total
Before you investigate
A thoughtful setup.
Teaching and report-making require no tasting. A selected experiment’s own tasting instructions remain authoritative.
The adult’s part
- Review the chosen experiment’s setup and perform its required adult tasks.
- Use completed observations and diagrams for teaching instead of unnecessary repeat handling.
Tools & heat
- Paper or the local report builder is sufficient for explanation.
- The selected experiment governs any knife, heat or appliance use.
Ingredients & allergens
- No ingredients are needed when using an existing completed notebook run.
- For a new run, use the chosen activity’s exact ingredients.
- Review the chosen activity’s ingredient and cross-contact checks before a new run.
- No names, health profiles or allergy histories belong in the teaching report.
Prepare your space
- Keep the teaching area separate from active heat, wet samples and discarded experiment materials.
- Use completed notes and diagrams at a dry table.
Build the relevant habits
Make it yours / Private in this browser
Tell the story of your investigation.
Your choices and writing stay in your local notebook. No personal names, accounts, or uploads are needed. Export the notebook to keep a backup.
Checking this browser…
QuackPot Food Lab / My local project
Investigate, explain, teach
Choose an experiment to include its preparation checklist.
My observations
No observations written yet.
My explanation
No explanation written yet.
My comparison diagram
Describe the relationship
Evidence & limits
Source connection not yet written.
Limits not yet written.
Personal learning notes. These words are the learner’s own record, not a verified result or food-safety certification.
Choose a teachable question
Pick one experiment with a comparison you can explain. An existing completed notebook run is suitable; otherwise review its preparation checklist with an adult before planning a new run. Write a narrow question and name the activity. The project’s time estimate covers report-making and discussion; add any new experiment’s time separately.
Care at this step: Review the actual experiment requirements and adult roles.
- What one question will your report answer?
- Which experiment or completed notebook run will you use?
- Which adult tasks and tasting boundary apply?
Show the comparison plan
Write the prediction as a hunch, then name what changes, what you will observe and at least two things to keep the same. Specify the observation times or measurement method from the activity. Draw two or more labeled sample boxes if that helps show the plan. Do not change an ingredient or heating procedure without a separately reviewed plan.
- What is changed, and what is observed?
- Which two conditions are kept the same?
- What did you predict before looking at results?
Keep the actual evidence
Follow the selected procedure or read your completed run. Record one specific observation with its condition and time; include units for a measurement. Keep an unexpected or unclear result. If the activity has not happened, label the report Planned and do not fill the evidence box with the illustration’s expected result.
Care at this step: Follow the selected procedure and preserve its tasting boundary.
- What did you actually see or measure?
- Which sample, time and units belong to that observation?
- What interruption or uncertainty should a reader know?
Draw a diagram that explains
Create a labeled before-and-after or side-by-side diagram. Include the samples and the changed condition. Use arrows only when you explain what they mean. Separate visible observations from a simplified model, such as a water pathway or heat-transfer arrow. Add a caption stating that the model is an explanation, not a photograph or an exact scale drawing.
- What must a reader recognize in the diagram?
- Which marks represent observations, and which represent an explanatory model?
- What does each arrow mean?
Connect evidence, explanation and source
Write a short explanation beginning with your observation, followed by the scientific idea it is consistent with. Open one relevant source from the activity and record its title and URL. Identify which claim the source supports. Add one limit: a single run, an approximate measure or an uncontrolled difference. Do not say the source personally tested your setup.
- What explanation fits the evidence you recorded?
- Which source supports the scientific idea rather than your personal result?
- What does this investigation leave unresolved?
Teach briefly and revise the report
Use the report to explain the question, evidence, diagram and limitation to a learning partner, or rehearse aloud privately. Invite one question and note any wording that was confusing. Revise the caption or explanation, add a next question and print or save the report locally. Keep unfinished evidence labeled Planned.
Care at this step: Teach with the report; do not recreate a hazardous step for effect.
- What question did your explanation raise?
- Which sentence or diagram label did you improve?
- What is one useful next investigation, and what would need review first?
Finish thoughtfully
Clean up
- Finish the chosen activity’s washing and workspace reset before teaching.
Dispose of the samples
- Follow the selected activity’s actual sample disposal instructions.
- Do not keep samples as presentation props after their planned session.
For parents & educators
Learning objectives
- Separate prediction, observation and explanation.
- Use a diagram with meaningful labels and explicit model limits.
- Cite a source for a specific claim and communicate uncertainty.
Prepare & make space
A completed experiment run lets the report fit into a short session. A new run adds that activity’s full time and safety requirements.
The adult’s part
Check experiment suitability and perform its adult tasks. For teaching, favor the finished report over repeating any hazardous step.
Talk about it
- Which sentence is evidence and which is an explanation?
- Could a good diagram accidentally make something look certain?
- What would another trial help you decide?
A simple way to join in
Dictate a three-sentence explanation and draw two labeled boxes. An adult can add the source title and URL without inventing observations.
Take it further
Add a second completed trial, show both results and discuss agreement or disagreement. Keep the original result visible.
Explore as a group
Use local pairs: one explains and one asks what evidence supports a claim. Swap roles and return feedback privately; no public upload is required.
Clean up
Finish the chosen experiment’s cleanup and sample disposal before teaching. Store the report locally and return materials.
Behind the explanation
- Science Buddies: Variables in Your Science Fair Project ↗
Distinguishes the changed variable, observed response and controlled conditions when planning and interpreting a comparison.
- FoodSafety.gov: Four Steps to Food Safety ↗
Organizes home food-handling guidance around cleaning, separation, cooking and chilling; the project follows each selected activity’s specific requirements.
Project project-teach · Content version 1 · Sources checked 2026-09-25 · Proposed procedure; kitchen trial pending