Kitchen skill / Static illustrated guide
Put the measurement in the food
Understand a thermometer check using a thin ground-beef patty as a defined adult demonstration. This is a measurement lesson near the end of a separate reviewed cooking procedure, not a recipe for cooking meat.
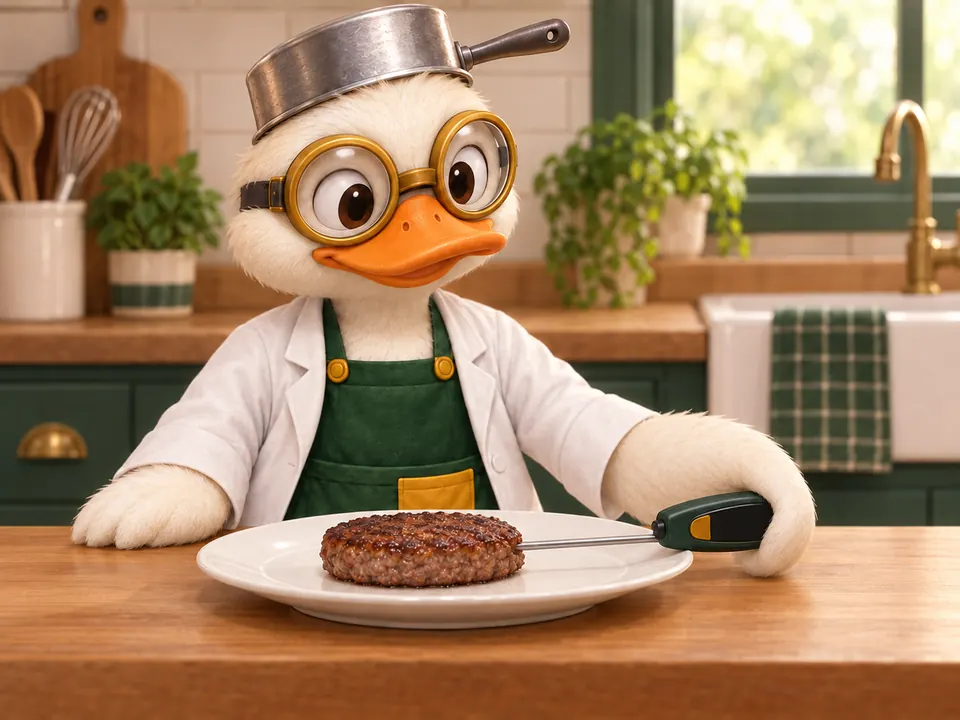
Step 1
Name the food first
Name the food before choosing its rule. This example is ground beef, not whole-cut beef or ground poultry. Identify the example as ground beef, not a whole beef steak or ground poultry. Select the matching central rule before the adult checks it. Cook ground beef, bison, veal, goat, lamb and pork, and sausages made from these meats, to at least 160°F (71°C).
Step 2
Read this device’s instructions
Locate this device’s sensing region and depth in its manual. The highlighted band is a schematic example, not a tip-only rule. Locate its sensing region and required insertion depth, response time and cleaning directions. Choose a probe that can measure the center of this thin food.
Step 3
Adult reaches the center
Adult checks off the heat. Place the sensing area in the food’s center, clear of the plate; no example reading is supplied. The adult moves the patty off the heat to a clean plate or clean utensil for the check, then inserts the suitable probe through the side into the center. Position the sensing area in the food, not against the plate.
Step 4
Wait, read and check other places
Wait as the manual directs. Read the actual value and check other needed locations and each patty. Allow the device its specified response time. The adult checks additional locations when needed and checks each separate patty; the surface color and the pan temperature do not substitute for an internal reading.
Step 5
Match the rule, then clean
Use the actual category’s rule, then clean the probe as directed. Record only a value you observed, with unit and location. Use the applicable minimum and any required rest for the actual category. This ground-beef example must not borrow the whole-cut rest rule. Clean the probe according to its instructions and keep it ready for the next check.
If it feels tricky.
The probe hits the plate before reaching the food’s center.
Ask the adult to reposition it sideways and confirm the device is suitable for that food’s thickness.
The number changes or differs between spots.
Wait the specified response time, confirm placement and let the adult assess more locations. Do not choose only the highest reading.
A small practice.
For a no-heat rehearsal, use a clean probe in room-temperature water as permitted by its instructions. Identify the sensing area, wait as directed and record the actual reading. This practices handling and reading; it is not a calibration test or a food-safety verdict.
Go deeper
The device senses a local region, while food can heat unevenly. Placement, response time and food category therefore work together. Exact safety requirements stay in the central U.S. home-kitchen rules; an elapsed timer or an attractive browned surface supplies different information.
Your practice, in your words
What did you try?
“Practiced” records your participation. It does not mean mastery, certification or safety approval.
Checking this browser…
Follow the sources.
- USDA FSIS: Food Thermometers ↗
- FoodSafety.gov: Safe Minimum Internal Temperatures ↗
- FoodSafety.gov: Four Steps to Food Safety ↗
Content version 1 · Sources checked 2026-09-25 · Published learning resource. Source review is not a physical kitchen trial.